- Identify frozen pipes early: Watch for reduced water flow, frost on pipes, and unusual noises to prevent costly damage.
- Locate and assess the frozen section: Check unheated areas, feel for cold spots, and trace the pipe layout to focus thawing safely.
- Turn off the water supply first: Shutting off the main valve and opening faucets prevents flooding if the pipe cracks.
- Use safe thawing methods: Hair dryers, heating pads, warm towels, or space heaters work effectively; avoid open flames.
- Check for leaks after thawing: Inspect pipes, joints, and surrounding areas for water damage to catch problems early.
- Prevent future freezes: Insulate pipes, seal gaps, keep faucets dripping, use pipe sleeves or heat tape, and maintain home temperature.
- Know when to call a professional: Seek expert help if multiple pipes are frozen, the pipe has cracked, or you’re unsure about thawing safely.
Frozen pipes are one of the most common winter plumbing problems homeowners face. A pipe that has frozen can stop water flow entirely and, if left untreated, may burst, causing extensive water damage. Knowing how to unfreeze pipes is essential to protect your home and keep your plumbing in top condition. In this guide, we’ll break down everything you need to know to tackle frozen pipes safely and efficiently.
Why Do Pipes Freeze in the First Place?
Before we dive into solutions, it’s helpful to understand why pipes freeze. Most frozen pipe issues happen when water inside the pipe drops below 32°F (0°C). Factors that contribute include:
- Poor insulation: Pipes in unheated areas such as basements, attics, or crawl spaces are more susceptible.
- Extreme cold weather: Prolonged subzero temperatures increase the risk of freezing.
- Pipe material: Metal pipes, especially copper, freeze faster than plastic pipes.
- Water flow: Stagnant water is more likely to freeze than water that is regularly moving.
Knowing why pipes freeze can help prevent issues in the future and guide your approach to unfreezing them.
How Do I Know If My Pipes Are Frozen?
Recognizing a frozen pipe early can save you from major plumbing disasters. Here are common signs:
- Water flow has stopped or is significantly reduced from faucets.
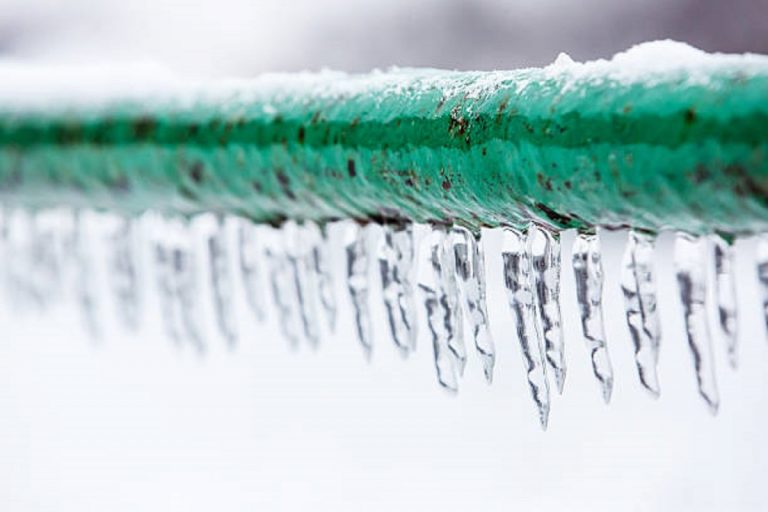
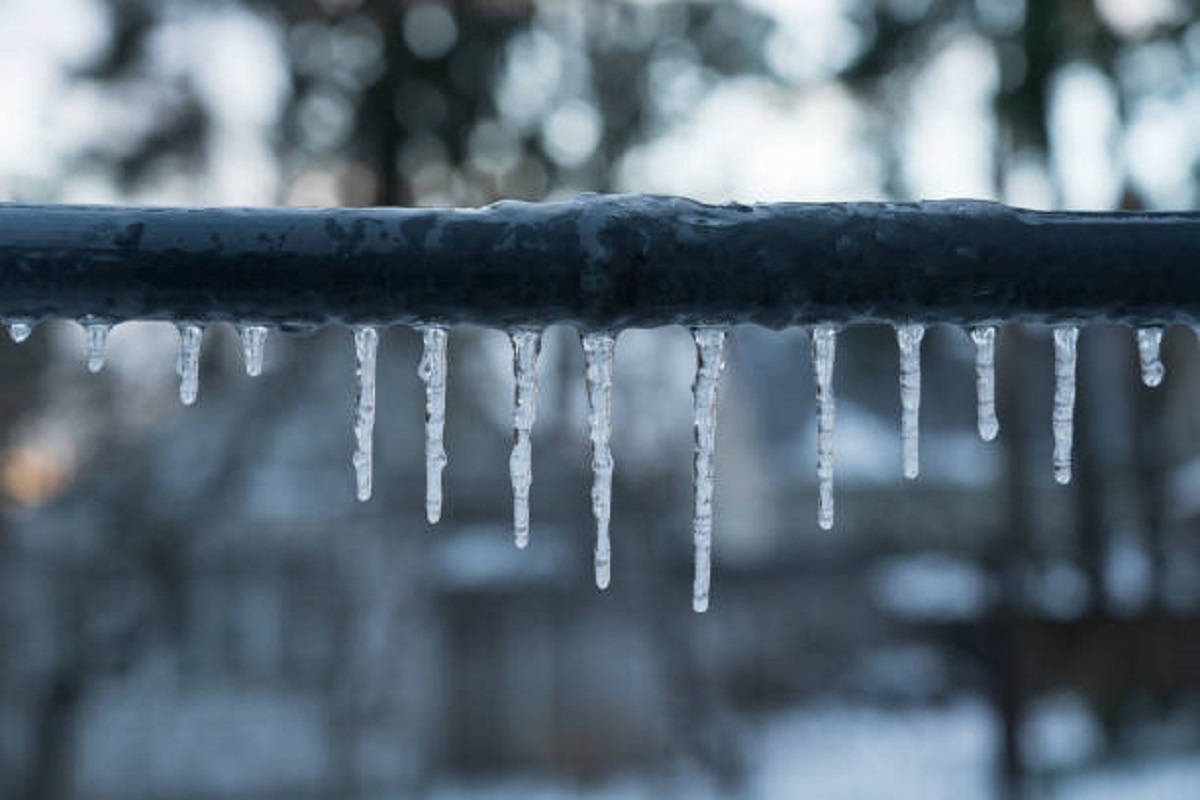
- Frost is visible on the outside of exposed pipes.
- Strange noises, like banging or gurgling, when you turn on a tap.
- Unusually cold spots on pipes in your home.
If you notice any of these signs, it’s time to take action before the pipe bursts.
Step 1: Locate the Frozen Section of the Pipe

Finding the exact section of a frozen pipe is the first and most critical step. If you start thawing a pipe without knowing where the ice blockage is, you risk wasting time and potentially damaging your plumbing.
- Inspect vulnerable areas: Frozen pipes are most likely in unheated or poorly insulated spaces. Check basements, attics, crawl spaces, garages, exterior walls, and even behind cabinets. Pipes running along exterior walls are particularly susceptible during prolonged cold spells.
- Feel for cold spots: Run your hands along the length of the pipe, checking for areas that feel unusually cold, icy, or frosted. Frost or condensation on the outside of the pipe is a clear indicator that water inside has frozen.
- Listen and observe: Turn on faucets connected to the suspected pipe. If water flow is reduced or sputtering occurs, it’s a strong sign the pipe is blocked by ice. You may also hear slight creaking, cracking, or popping sounds inside the pipe as the water struggles to move.
- Trace the pipe layout: If you have access to blueprints or can visually trace the pipe’s route, identify all the connected sections so you can monitor the thawing process efficiently.
Identifying the frozen area ensures you focus your efforts safely and reduces the risk of causing damage to other parts of your plumbing system.
Step 2: Turn Off the Water Supply
Before applying any heat to a frozen pipe, you must shut off the main water supply. This precaution is essential because ice expansion can cause cracks, and when the ice melts, pressurized water can rush out, causing flooding.
- Locate the main shutoff valve: This is typically near your water meter or where the main water line enters your home. In older homes, it may be in the basement or utility room.
- Turn off the valve completely: Rotate the valve clockwise until it is fully closed. This stops water flow into the entire home, ensuring safety while you thaw the pipe.
- Open connected faucets: Open all faucets attached to the frozen pipe. This relieves any built-up pressure and provides an outlet for water once the ice begins to melt.
- Drain residual water: If possible, drain nearby pipes to reduce the risk of further freezing and pressure buildup.
Taking this step seriously is crucial to prevent water damage and reduce repair costs.
Step 3: Choose a Safe Method to Unfreeze Pipes
Thawing frozen pipes requires patience and the right tools. Never use open flames like a blowtorch, as it can melt the pipe or start a fire. Here are reliable methods:
Use a Hair Dryer
- Start at the faucet and gradually move toward the frozen section.
- Keep the hair dryer in continuous motion; holding it in one spot can overheat the pipe and damage it.
- Use medium heat rather than the highest setting to avoid thermal shock.
- Never use a hair dryer on a wet pipe or in areas where water may come in contact with electricity.
Use Heating Pads or Electric Blankets
- Wrap an electric heating pad or blanket around the frozen section.
- Secure it with tape or cloth straps if necessary, but avoid tight wrapping that could compress the pipe.
- Keep it on a low or medium heat setting and monitor regularly.
Apply Warm Towels
- Soak towels in hot water and carefully wrap them around the frozen pipe.
- Replace towels as they cool to maintain consistent heat.
- This is a slower method but useful for pipes in tight or awkward spaces where other heat sources cannot reach.
Use a Space Heater
- Position a small, portable space heater in the room where the pipe is located.
- Ensure the heater is placed safely, away from flammable materials, and never leave it unattended.
- Combine with other methods, like running faucets, to accelerate thawing
Avoid kerosene heaters, open flames, or any direct-fire tools, as they can easily damage pipes or surrounding materials.
Step 4: Turn On the Faucet
Once the pipe begins to thaw, running water helps the ice melt faster.
- Open the faucet fully to allow moving water to carry heat through the pipe.
- Continue applying your chosen heat source along the length of the frozen section until full water flow is restored.
- If you notice water sputtering, it may indicate that ice is still present further along the pipe. Focus your heat source on those areas until water runs freely.
Combining heat and moving water ensures a faster, safer thaw while reducing the risk of pipe damage.
Step 5: Check for Leaks
After successfully thawing the pipe, a careful inspection is crucial. Even small cracks can worsen over time.
- Examine the pipe thoroughly: Look for dripping, wet spots, or visible cracks. Pay special attention to joints and bends.
- Check nearby areas: Inspect floors, walls, and ceilings for water damage that may have occurred while the pipe was frozen.
- Monitor water pressure: Turn faucets on and off to ensure consistent water flow. A sudden drop in pressure can indicate a hidden leak.
- Call a plumber if necessary: If you find any damage, don’t delay professional repair. A licensed plumber can replace or repair the pipe safely and prevent further issues.
Early detection of leaks protects your home and avoids costly repairs later.
Preventing Pipes from Freezing in the Future
The most effective solution is prevention. Here are practical steps to protect your plumbing year-round:
- Insulate exposed pipes: Foam or fiberglass insulation around pipes in basements, crawl spaces, and attics significantly reduces freezing risk.
- Seal gaps and cracks: Ensure cold air cannot reach pipes by sealing gaps around windows, doors, and exterior walls.
- Let faucets drip: A slow drip keeps water moving, reducing the chance of ice formation inside the pipes.
- Open cabinet doors: This allows warm air to circulate around under-sink pipes, especially in kitchens and bathrooms.
- Use pipe sleeves or heat tape: These are especially effective for vulnerable pipes. Follow manufacturer instructions for safe installation.
- Maintain a consistent home temperature: Keep your thermostat at a safe minimum (around 55°F / 13°C) during extreme cold.
Implementing these measures not only prevents frozen pipes but also reduces stress and potential repair costs during winter months.
When Should You Call a Professional Plumber?
While many frozen pipes can be handled at home, there are times when calling an expert is the safer choice:
- You cannot locate the frozen section.
- Multiple pipes are frozen.
- Pipes have already cracked or burst.
- You’re uncomfortable using heat sources to thaw the pipe.
- The frozen pipe is in a hard-to-reach area, like inside walls or under floors.
A licensed plumber has the tools and expertise to safely restore your plumbing without causing damage.
Common Mistakes to Avoid When Unfreezing Pipes
Even experienced homeowners can make mistakes when trying to unfreeze pipes. Avoid these pitfalls:
- Using open flames: Can melt pipes, start fires, or cause burns.
- Ignoring leaks after thawing: Small cracks can worsen if left unchecked.
- Not turning off the water supply: Increases the risk of flooding if the pipe bursts.
- Rushing the process: Thawing too quickly can damage the pipe.
Being patient and cautious is key to effective and safe pipe thawing.
How to Protect Outdoor Plumbing
Frozen pipes aren’t limited to indoor plumbing. Outdoor faucets and irrigation lines are also at risk:
- Disconnect hoses and drain outdoor faucets.
- Use insulated covers for spigots.
- Shut off and drain sprinkler systems before the first freeze.
- Consider installing frost-free outdoor faucets for long-term protection.
Proper outdoor plumbing protection prevents emergencies and maintains your home’s water system.
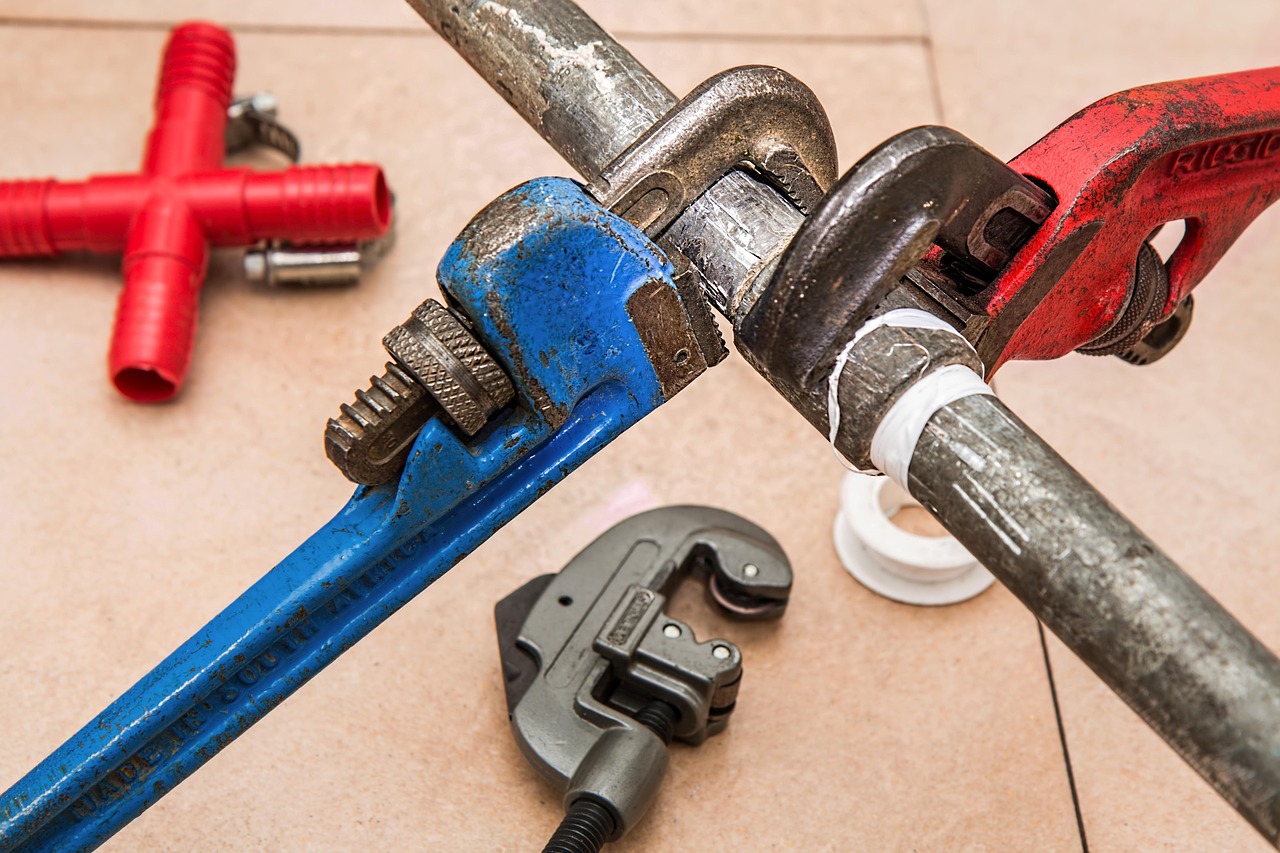
Tools and Products That Make Thawing Easier
Having the right tools can make unfreezing pipes faster and safer. Consider keeping these items on hand:
- Hair dryer or heat gun (on a low setting)
- Electric heating pads
- Pipe insulation or foam sleeves
- Heat tape for vulnerable pipes
- Bucket or towels for potential drips
- Space heater for rooms with exposed pipes
Being prepared ensures you can act quickly when a pipe freezes.
The Costs of Ignoring Frozen Pipes
Ignoring frozen pipes can lead to expensive and stressful outcomes:
- Burst pipes: Can cause thousands of dollars in water damage.
- Mold growth: Moisture from leaks promotes mold and mildew.
- Structural damage: Floors, walls, and ceilings can be compromised.
- Higher repair bills: Waiting too long increases the complexity and cost of plumbing repairs.
Prompt action and preventive measures save money and protect your home.
Frequently Asked Questions About Frozen Pipes
Can I use a hair dryer on all types of pipes?
Yes, but avoid using it on wet surfaces and keep it moving to prevent overheating. Metal pipes heat faster than plastic, so monitor them closely.
How long does it take to unfreeze a pipe?
The time depends on the pipe’s size, location, and method used. It can take anywhere from 30 minutes to several hours. Patience is crucial.
Is it safe to pour hot water over a frozen pipe?
Pouring hot water is risky, especially if the pipe is inside walls or hard-to-reach areas. It’s safer to use indirect heat methods like towels or heating pads.
Will leaving faucets drip really prevent freezing?
Yes. A slow drip keeps water moving and reduces the likelihood of ice forming inside the pipe.
Can frozen pipes cause water contamination?
Potentially. If a pipe bursts or leaks, contaminants from surrounding areas could enter the water system. Always check water quality after a major plumbing incident.
Final Thoughts
Knowing how to unfreeze pipes is an essential skill for any homeowner, especially in colder climates. By understanding why pipes freeze, taking proper precautions, and using safe thawing methods, you can protect your plumbing and avoid costly repairs. Remember to implement preventive strategies, monitor vulnerable pipes, and call a professional plumber when needed. With these steps, your home’s plumbing can survive winter safely and efficiently.